

Dying coffee filters is so easy, you're going to wonder why you waited for a tutorial to try and do this.
What you'll need:
* 1-2 packages (200-300 filters) of 8-12 cup coffee filters
*large bowl
*water
*dye of choice - coffee, food coloring, craft paint, etc
*2 large cookie sheets
*oven (or lots of time)
* rubber gloves (optional)
If you are planning to make a 9-10" wreath, you'll need to dye around 200-300 coffee filters. I buy them at Aldi's - they are $.99 for 200 filters, which is the least expensive place I've found. A dollar store might also be a good place to look.
Before anything else - get out your cookie sheets and preheat your oven to 200-250 degrees. (Please use your own discretion here - I do mine at 245, not sure why I chose that temperature. I'm in the kitchen the entire time the filters are in the oven. Please don't blame me if you burn your house down.)
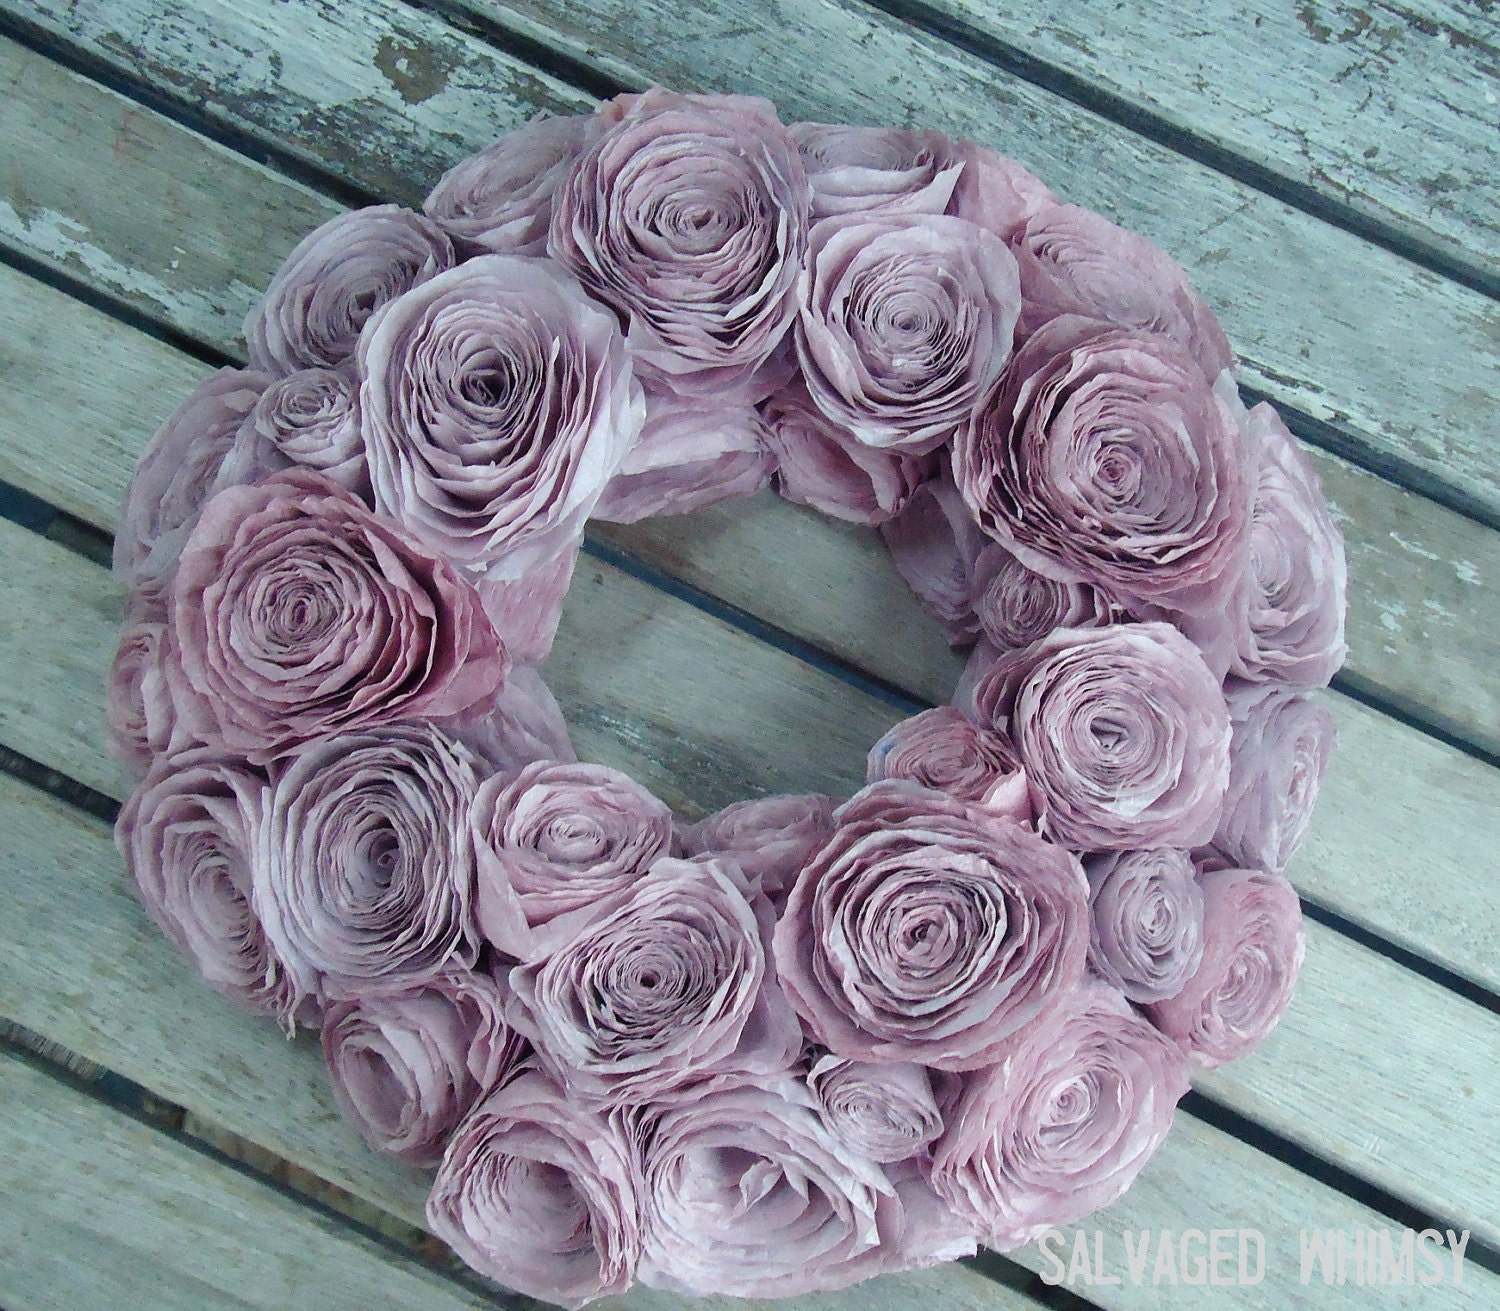
When I made the coffee filters for my pink wreath a couple weeks ago, I didn't have any food coloring, so instead I used something that always seems to dye my fingers (and anything else it touches) - a packet of single-serve sugar-free juice mix...

This is the Cranberry flavor from Kroger...yes, it's caffeinated and actually, pretty tasty. I used my last packet on this tutorial, so I apologize if I'm not my usual perky self (ha, right!)
*If using craft paint, use as little paint possible to get your desired color, and mix it with a lot of water (4-6 cups) - the more watery the mixture, the better, if trying to achieve the stained look (and not painted).
**If you're dying with coffee - make about 6-8 cups of coffee and pour 3-4 cups into a bowl, leaving some to use on later batches. You can use regular or decaffeinated. I water it down some to cool it off before dipping my filters.
The amount you'll use depends on the shade of pink that you'd like...but it's better to go lighter, as you can always darken the color once the filters dry.

I fill a large butter container half full with water (temperature doesn't seem to matter) and sprinkle in a tiny amount of the juice mix or food coloring. Make sure to mix together well to prevent blotches. Using diluted craft paint gives a more saturated color, but they are hard to keep from getting blotchy, if that matters to you.

Take a chunk of coffee filters

and divide them into smaller sections of 10-20 filters as you put them in the dye.

Once you have 50 or so filters,

push the filters down into the dye. (This is when you may want to use the "optional" rubber gloves)

Once all the coffee filters are wet

wring them out, making sure to check that they all are dyed. (Sometimes, the dye doesn't reach the middle of the "clump"...so you have to separate them out and re-dip as needed)
They don't need to soak for any amount of time before you remove them from the dye, they soak up the color pretty quickly. Soaking them for longer amounts of time doesn't seem to change the color at all.
Coffee filters are pretty durable, so don't be afraid to wring them out like you would a washcloth. The more dry they are now, means less time in the oven.

Then flatten them out and spread out on a cookie sheet in stacks of 5-10 filters.

And stick them in the oven - I do 2 trays at a time and 20 minutes usually is enough time.
If, after that time, some are still damp, you can either let them air dry the rest of the way, or put them back in the oven for a couple more minutes.
(Sometimes the filteres on the top and bottom of the piles get discolored...I've thought about covering them with foil to prevent this, but haven't tried it yet.)

I use different amounts of dye to get different shades. If they aren't getting as dark as you'd like with any of the dying methods, you can re-dip them after they've dried and put them back in the oven to dry again.

These are all different shades made from just adding more of the juice mix or food coloring. Also, if you are using the dyed filters to make flowers, remember that once the filters are rolled together, the color will look darker than the color of filter on its own.

Some other colors I've made using food coloring.
If you haven't seen the wreaths I've made using colored filters - here are a couple examples:

Using method shown above.

Using coffee-dyed filters

Made using watered-down black craft paint.
Using diluted craft paint.
Please let me know if you have any questions.
In the next couple days, I'll be posting on how I make the paper flowers that I use for my wreaths.
Sharing this tutorial at some of these parties:
Please let me know if you have any questions.
In the next couple days, I'll be posting on how I make the paper flowers that I use for my wreaths.
Sharing this tutorial at some of these parties:
MONDAY:
The Girl Creative
Boogieboard Cottage
C.R.A.F.T.
Kristen's Junk Drawer
DIY Home Sweet Home
Thrifty Decor Chick (1st Monday of Each Month)
The Gunny Sack
Ask Anna
Boogieboard Cottage
C.R.A.F.T.
Kristen's Junk Drawer
DIY Home Sweet Home
Thrifty Decor Chick (1st Monday of Each Month)
The Gunny Sack
Ask Anna
TUESDAY:
Homework
At Home With K
My UnCommon Slice of Suburbia
Kammy's Korner (Trash to Treasure)
Cherished Bliss
Ruby Jean
The Farmhouse Porch
At Home With K
My UnCommon Slice of Suburbia
Kammy's Korner (Trash to Treasure)
Cherished Bliss
Ruby Jean
The Farmhouse Porch
WEDNESDAY:
Domestically Speaking (Paint Projects)
Faded Charm (White Projects)
THURSDAY:
Miss Mustard Seed (Furniture Only)
Redoux
French Country Cottage
LaurieAnna's Vintage Home
Too Much Time on My Hands
SATURDAY:
I Can't Stop Crafting
Lolly Jane Boutique
Funky Junk
Be Different, Act Normal
{nifty thrifty things}
Marvelously Messy
Space 46
SUNDAY:
I Heart Naptime
LambAround
Petite Hermine
Redoux
French Country Cottage
LaurieAnna's Vintage Home
Too Much Time on My Hands
SATURDAY:
I Can't Stop Crafting
Lolly Jane Boutique
Funky Junk
Be Different, Act Normal
{nifty thrifty things}
Marvelously Messy
Space 46
SUNDAY:
I Heart Naptime
LambAround
Petite Hermine


14 comments:
I'm in love with your wreaths! I must make one of these! I can't wait to see your tutorial...think I'll be dying coffee filters at naptime today :)
Kristen
So glad to know how you did this! Knowing me...I'd probably burn the house down...yikes!
They are so pretty. I have to make one.
Hugs Bente
Thanks so much how to dye the coffee filters I've been meaning to try to do a wreath made with some and wasn't sure the best way to go about it. You found the right PJH Designs thanks for making the effort. :-) Peggy
Erin, the tutorial is fantastic! Thank you so much for sharing with us how to dye the coffee filters. I'm bookmarking it to use at a later time. Blessings from Bama!
This is amazing!! It would have never occurred to me to dye them! Love it! Thank you so much for sharing this. Pinning right away.
Thanks so much for this awesome tutorial! I just pinned this and am your newest linky follower so I don't lose this tutorial and all your other great ideas!
Marilyn
4you-withlove.blogspot.com
Your flowers and wreaths are amazing! I love peonies and large old english roses and these remind me of both. I see some coffee filter dying in my future. Thanks for sharing!
So so cute!! Thanks for the tutorial! I know, I haven't tried this one but it is on the list!!
When trying to visit you through linky followers it says the link was broken, so I am going to delete then join again. Just wanted you to know if you see your followers go down 1 then up again, it's just me trying to hook up right!
Just found you on Etsy; Love your stuff ... especially that gray wreath ! ♥
thanks for this great tutorial! I bought way too many coffee filters to make a regular coffee filter wreath...am really pleased with the result but the process was pretty painful....literally! I stuck my little finger in a blob of hot glue and got two blisters for my troubles!! Looking forward to seeing how you turn the dyed filters into flowers! thanks again!
The pink one is my absolute favorite. Thanks for linking to cowgirl up and I hope you come back and join us again next week.
If you want a quicker way to dry your coffee filters after dying them, just toss them in your dryer for a few minutes. Especially if you're worried about "burning your house down".
Post a Comment