
Just to prepare you, I'm feeling a little feisty tonight.
So, yet another chest. I know, I know. And I don't even have a before picture...I've only been blogging since August, and I'm already slipping. Basically, it was a big brown, dirty, old plywood box.
So, yet another chest. I know, I know. And I don't even have a before picture...I've only been blogging since August, and I'm already slipping. Basically, it was a big brown, dirty, old plywood box.
First thing I did was add some casters....and did the whole priming and painting thing....

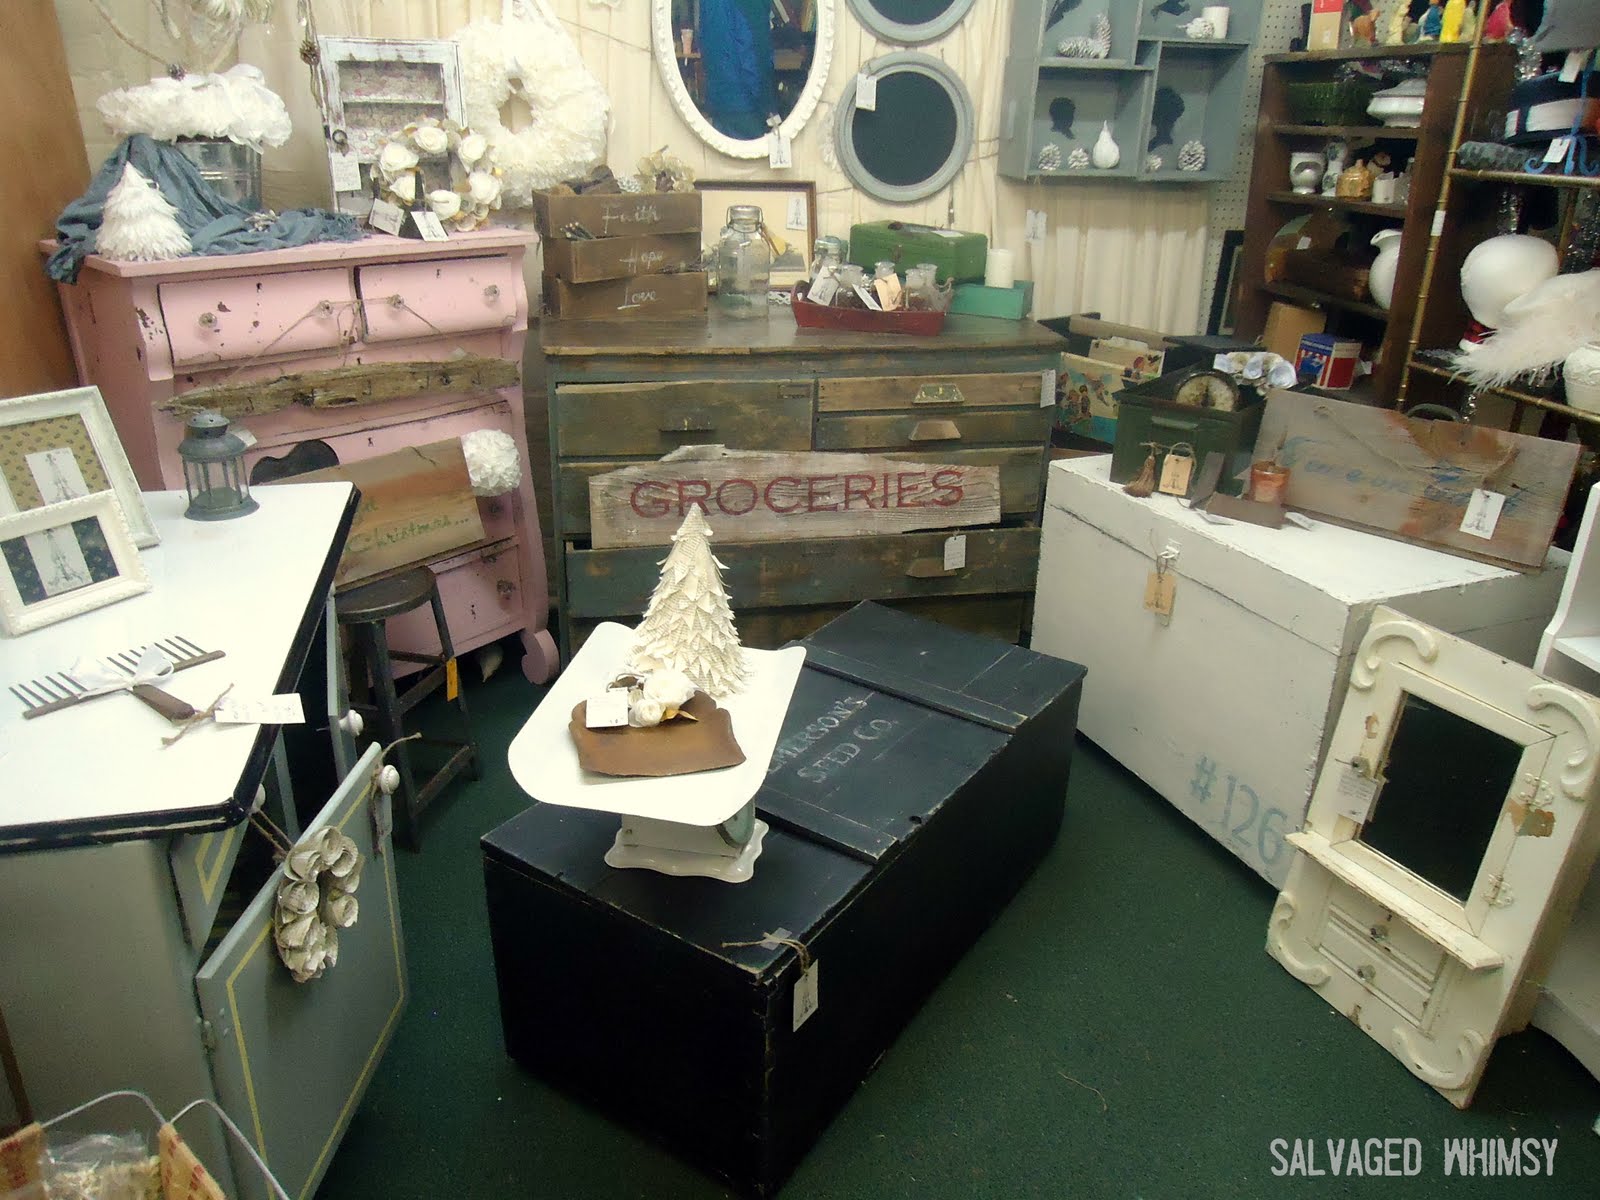
... and I finally joined the number club and put a number on it..and then I distressed it. On the inside - it was a big old mess, and the only way I could think to fix it would be to cover it. I applied a glaze and stain mixture over the book pages before a couple coats of poly.
(If you're jealous of the pretty brown, office-like carpet...you should be...added bonus...it's in the kitchen. The last owner "loved carpet in the kitchen")

I had a couple pieces of furniture sell, so we took the new chest to add to my booth. I didn't get any good pictures before my husband stuck it in the car.

I also added the sisal handles

I always wonder why people choose the numbers they do...I chose #126 because 1/26 is our wedding anniversary.

This would make a great coffee table...with bunches of storage (toys!). (any takers? if you live nearby, I'll even bring it to ya!) Since it's on casters, it could easily be moved out of the way if more space is needed.

Made a couple changes...

A little Christmas decor for the ole' booth. See the fringe-y tree on the left...guess what it's made from....COFFEE FILTERS. I almost lost a finger in the making of that-there tree. The flowers on the little wreath...uh huh, COFFEE FILTERS.

The garland...COFFEE FILTERS (and book pages)...and the wreath around the trunk...COFFEE FILTERS! I'm a woman possessed...maybe I should rename my blog...Salvaged Coffee Filters? Coffee Filter Crafts? Nah.

I changed the knobs on the kitchen island. And put new inserts in the picture frames.

A little glittery tree made from cardstock and book pages. I know you can't tell, but there's a little flower on the rusty scoop next to the tree...and shhh, it's made from COFFEE FILTERS.
My husband built an A-MAZ-ING farm dining table out of an old door. You will pee your pants, it's so awesome. I need to put some poly on it and take pictures, but hopefully, I'll have those for you in the next couple days....so you better come back and check it out. (promise??)
I didn't even know he had these abilities...and we've been married almost 4 years! He probably shouldn't have revealed this hidden skill to me because now the possibilities are endless!!! (Bwah, HA, HA...does that sound evil in your head, because it's supposed to)
If I don't get the chance to chat with you again before Thursday, have a very blessed and happy Thanksgiving, enjoy your family, and don't forget your elastic pants!
I will be sharing this at most of these parties...probably will miss any Thursday parties this week, if you go, link one for me (haha, like drink one for me..nevermind).
MONDAY:
TUESDAY:
Homework
At Home With K
My UnCommon Slice of Suburbia
Kammy's Korner (Trash to Treasure)
WEDNESDAY:
The Thrifty Home
Restore Interiors
Blue Cricket Design
Savvy Southern Style
Very Merry Vintage Style
At Home With K
My UnCommon Slice of Suburbia
Kammy's Korner (Trash to Treasure)
WEDNESDAY:
The Thrifty Home
Restore Interiors
Blue Cricket Design
Savvy Southern Style
Very Merry Vintage Style
Domestically Speaking (Paint Projects)
Faded Charm (White Projects)
THURSDAY:
FRIDAY:
Miss Mustard Seed
SATURDAY:
I Can't Stop Crafting
Lolly Jane Boutique
Funky Junk
Be Different, Act Normal
SUNDAY:
I Heart Naptime
LambAround
Petite Hermine
SATURDAY:
I Can't Stop Crafting
Lolly Jane Boutique
Funky Junk
Be Different, Act Normal
SUNDAY:
I Heart Naptime
LambAround
Petite Hermine
take care -


